
The home is where the heart is, as the adage goes. Generally speaking, you will have a ton of ways in which you can experiment with the exterior and interiors. All these can be fun, from putting up new furniture to installing new space to even protecting your walls. Concerning your walls, however, you may want to use a bit of extra care.
That is because, believe it or not, they can become vulnerable to damage over time. Before you know it, one false, physical move can damage the corners. Thankfully, you have a few ways in which you can take preventative action. Using corner guards will give your walls the protection they deserve.
Corner guard are small, protective devices that can be installed onto the corners where your walls meet. Then, any force that is incurred can essentially be rubbed off. The walls will be protected through and through!
First, it is important to consider which walls will be protected with these devices. For parents, think about the walls in which your younger kids are more prone to harm. Or, highly-trafficked areas could benefit from the use of these devices. Whatever scenario you find yourself in, a few corner guards can act as a great barrier!
Let’s learn how to install corner guards effectively:
Step #1: Choosing the Material
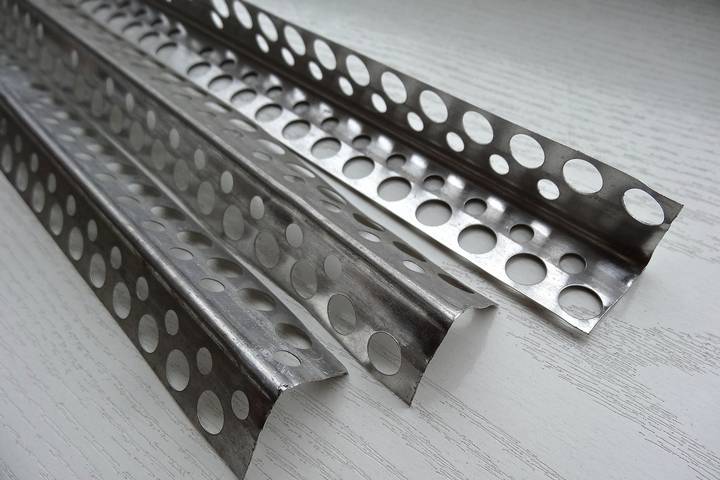
Many consumers may not know that corner guards can come in multiple compositions. Generally speaking, your usual device will be made out of sturdy plastic. While these are great enough to work independently, they may still lack security. If you require a stronger wall material, head to your department store.
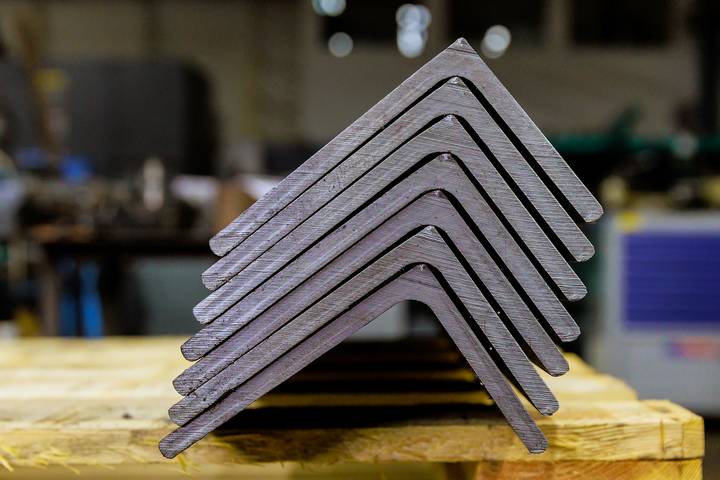
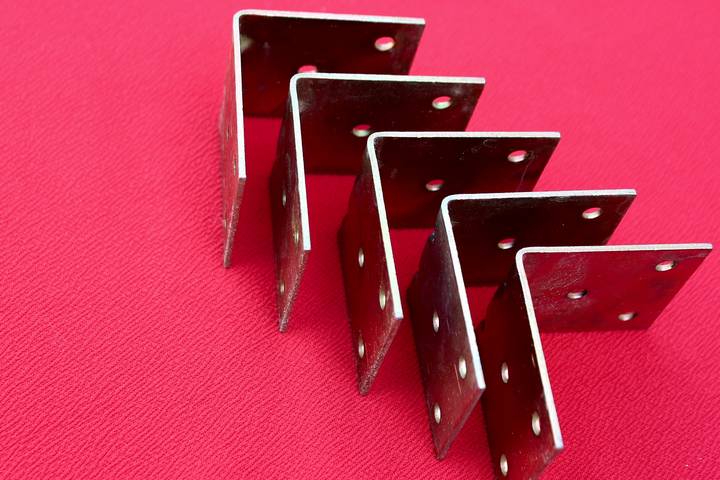
Here, you will find a multitude of corner guards in different types of materials. For the best quality possible, you can opt for metal corner guards. These offer the best quality in terms of extended protection for your walls. Sometimes, these devices can also come in a material that is a mix of both hardened plastic and steel!
Step #2: Cleaning the Area
Now that your chosen guards are behind you, it is time to kickstart the process. First, locate the wall section where you will install the corner guards. Then, grab a few cleaning supplies and gently sanitize the targeted area. These will generally include, but are not limited to, an old rag and cleaning solvent.
Usually, all that is needed is a simple solvent application, followed by a gentle scrub. You want to ensure the corner guard is installed onto a surface free of grime or other oils. Since many of the guards come with an adhesive, the wall’s surface needs to be prepped accordingly for it to work.
Step #3: Place and Position
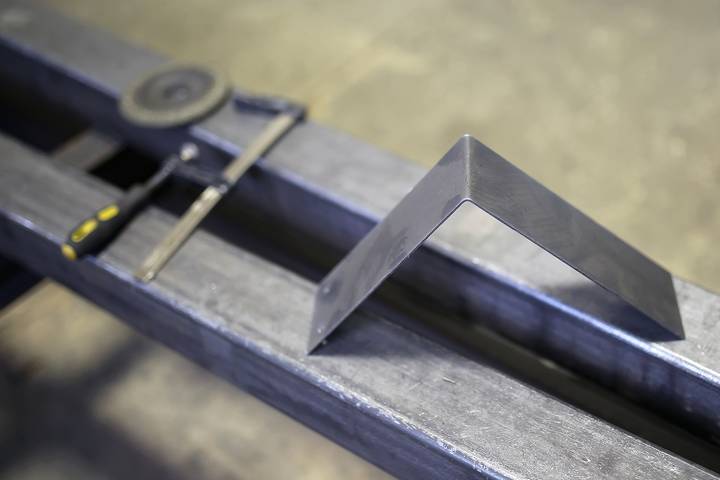
Once the groundwork is finished, you must install the actual corner guard. Depending on the type of corner guard you have, an adhesive may already be applied. If not, make sure that you apply an adhesive onto the designated, cleansed surface. Then, firmly place the corner guard onto the surface.
The installation can be as simple as that one maneuver in many cases. You may have to adjust how the guard was installed slightly at other times. This involves moving the guard upwards or down to reach your intended area. If the adhesive is not working, install another application to get it right the next time.
Step #4: Screw-Based Guards

While the most common corner guard installation involves adhesive, screw-based guards are also available. As the name suggests, this type of corner guard will see you nailing the device into a targeted spot. However, the first parts of the process are largely the same as their adhesive counterpart.
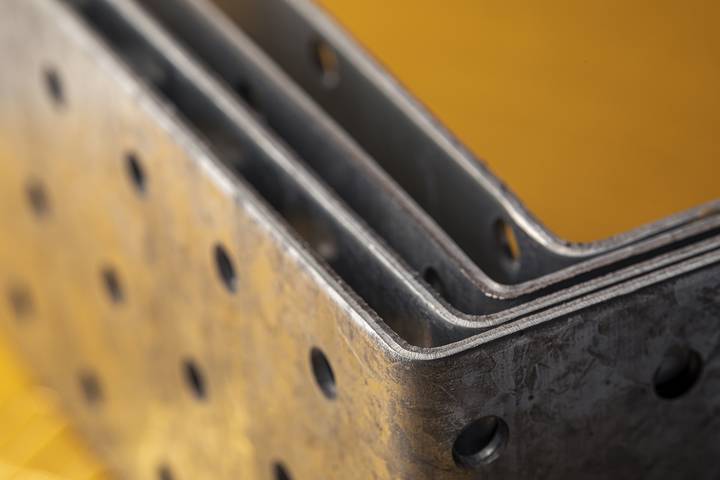
Once the area has been appropriately cleansed, drill some holes into specific marks on the surface. Wipe these down to remove any residue, and install the guard onto the surface. You will then have to drill the screws into the guard to finalize the process. This installation version works best with steel corner guards to provide an optimized level of protection.
Step #5: Clean Up
An installation process for a corner guard can be as simple as that. You do not have to worry about post-installation steps, as the entire task can be finished easily. Just clean up the area surrounding the targeted spot, as leftover residue may still be present. Then, your walls will be protected in the years to come!